Everything to know about designing a proper dust collection system, including: layout, plan, collector, and duct sizing.
Learn the basics of laying out your shop dust collection for small to medium size shops. Larger shops require a bit more involvement than what we can share here, contact us for more information (even if you need some help on smaller systems).
QUICK AND DIRTY METHOD – DIY DUST COLLECTION SYSTEM
If you are simply a weekend warrior woodworker (say that 10 times fast), then follow these steps to setup your small system. If you have a slightly larger shop, then jump down to the next section “SMEDIUM SIZE SHOP“. Follow the following steps for a quick and simple method:
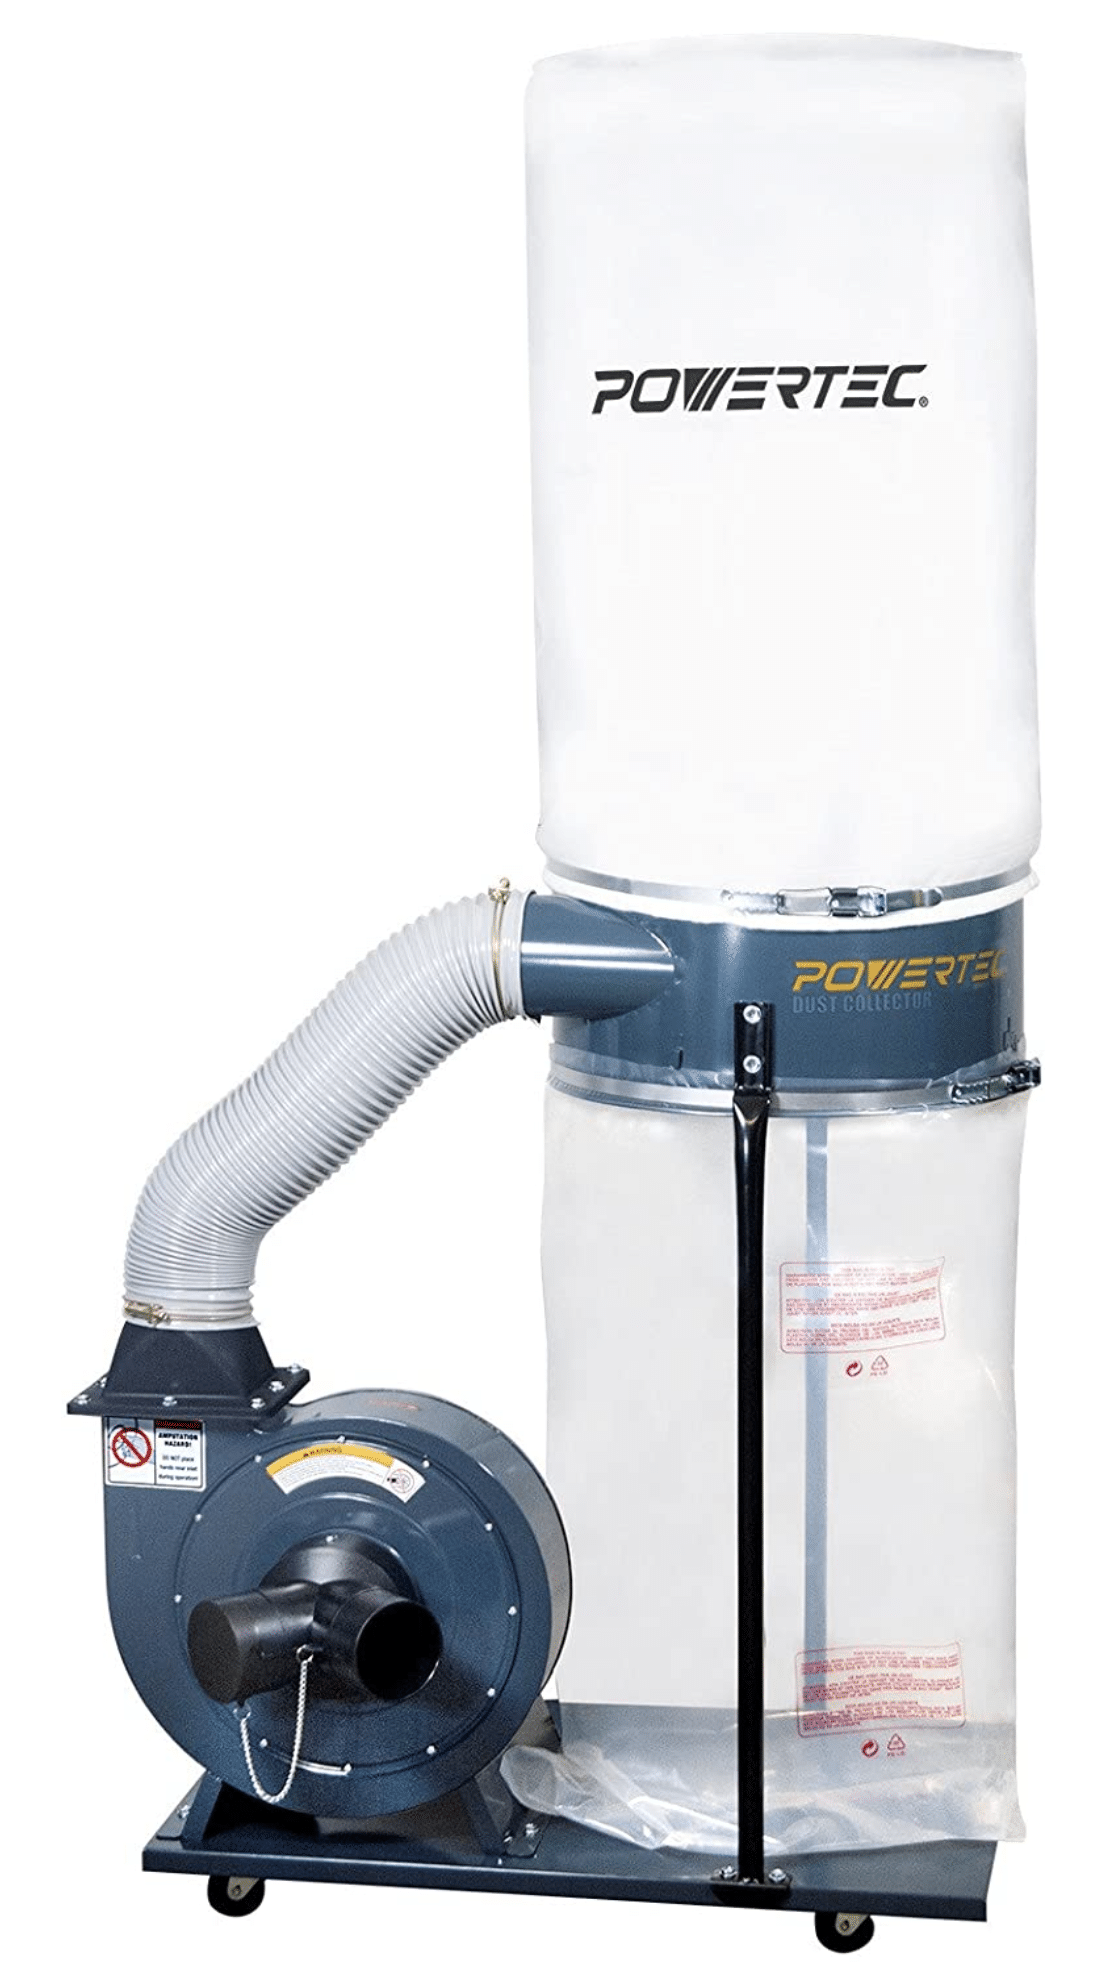
- Get a 1 1/2 – 3 HP collector that is rated at 600 CFM or above. I use this PowerTec model that works well (https://www.amazon.com/POWERTEC-DC1512-1-5-Dust-Collector/dp/B072F2LLFH?th=1).
- Add or ensure you have sufficient filters, separators. Typically, filters are made from 12-16 oz felted polyester filter fabric, you should have around 1 sq. ft. for every 10 CFM.
- Run a 6″-8″ main duct as straight as you can from your collector and branch off (at 45°) to each machine.
- Install blast gates before flex (keep these in an easy, reachable area). Use the minimum amount of flex possible (2 1/2′ or less), as flex decreases the efficiency of your system.
- Follow good practices on installing, grounding, and sealing the system.
If your system is not working as intended, then tweak your blast gates, system (ensure not to starve your collector for air). Try reading the following section as some additional information to improve your system.
“SMEDIUM” SIZE SHOP – WOOD SHOP DUST COLLECTION
These steps require a bit more involvement to design and properly layout your system.
- Layout your machines, collector and duct path (follow lean principles).
- Draw a floor plan of your shop
- Determine CFM
- Order and install
1. LAYOUT
If you haven’t designed your system with lean manufacturing in mind, then stop here and spend more time researching and learning about how to best setup your shop. Consider listening to “2 Second Lean” by Paul Akers. (https://www.amazon.com/Second-Lean-People-Build-Culture/). Your dust collector needs to be placed closest to the biggest drawing machine. Furthermore, take into consideration the proximity to machines, although it pains me to say this, minimize the amount of duct in your system. Also, your dust collector can be a large creator of noise, consider placing it outside or in the corner to minimize noise in your shop. Remember you must have access to clean, empty and maintain your dust collector so don’t put it somewhere you can’t access it. If your collector is outside the shop, then you must have some make-up air going back to your shop.

2. DRAW A FLOOR PLAN
Indicate size and location of dust pick-ups on each machine. To size your collector, add up all the required CFM for all the dust ports [SEE CHART BELOW]. Note the floor to joist measurement, and any other restrictions or obstructions you may have in your space. Draw single lines for the duct lines and label the footage between the main trunk line and machine ports. It does not matter if you are using a drawing or computer-aided design (CAD) design. Producing an accurately rendered shop-layout drawing is the ground-work for developing a well-functioning dust collection system.

3. SIZE MATTERS
Grab another piece of paper, and get ready to brush off those math skills from high school. Let’s start at the furthest away machine and work towards the collector. Determine the appropriate diameter for the CFM requirements at the first machine. Continue on throughout your machines. If a machine has two dust ports, then add the two CFM requirements together for a combined duct dimension. Continue this for the rest of your machines, all the way back to the collector inlet. However, if a machine can be isolated with a blast gate, then you will not need to add the two air volumes.
NOTE: If your total CFM is larger than the dust collector, then use blast gates to isolate branches and reduce the size of the duct to the appropriate size.
Furthermore, if your system requires large runs (over 100′) then you need to consider static pressure. Static pressure is resistance to flow caused by friction and the channeling of airflow through a round pipe. This takes into account flex, elbows, branches, pipe lengths etc. If you need help with designing a system that requires this amount of detail, we suggest you give us a call.
4. ORDER AND INSTALL
When ordering your ductwork, consider the following options: spiral pipe, angle iron flanges (larger duct), or clamp together ducting. We offer a full line on all of these products. Install using hanger strap or cable with cable locks. If using screws, use Hilti zip screws, as they do not disrupt the air stream. Glue the seam.
